Whether tackling heavy-duty tasks on-site or smaller projects at home, your equipment plays a pivotal role in success. But when performance dips, delays and frustration can quickly follow. By understanding the root of these issues and how to address them, you’ll save time, money, and energy. Let’s break it down step-by-step with detailed, practical insights.
Understand Why Tools Underperform

When a machine struggles to perform as expected, it’s tempting to blame age or wear. However, many performance issues stem from specific causes that are preventable or fixable.
Expert-Level Fixes
- Cutting Attachments: A dull blade or drill bit adds resistance, forcing the motor to work harder and slowing progress. For precision, use a dedicated sharpening kit or replace the part outright with a high-grade alternative.
- Dust and Blockages: Accumulated debris inside the motor casing can restrict airflow, causing overheating and reduced efficiency. Clean vents with compressed air and regularly inspect fan blades for hidden grime.
- Voltage Problems: Tools connected via long or undersized extension cords may receive insufficient power. Opt for shorter cables with the proper wire gauge or consider using a portable power supply when working far from outlets.
Quick Tip: Changes in sound or performance often hint at specific issues—don’t ignore them.
Restore Functionality to Tools That Won’t Start

When your go-to equipment fails to turn on, panic sets in. But the solution may be simpler than you think.
What to Check
- Power Source Integrity: Confirm outlets aren’t overloaded and batteries are adequately charged. Use a voltage tester to confirm consistent power delivery.
- Wiring Connections: Loose or frayed cords often result in a complete failure to start. Replace damaged cables immediately or splice with heat-shrink tubing if the issue is minor.
- Carbon Brushes: Over time, carbon brushes, which transfer electricity to the motor, wear down. Regularly check their length and replace them if they show significant wear. To ensure optimal contact, clean the commutator (the rotating part of the motor) with fine-grit sandpaper and remove any carbon buildup. “According to TopDealsOnline, carbon brushes wear out when the material becomes too short, causing intermittent power or complete failure.”
Pro Tip: Document any recurring problems and note how they were fixed—this creates a reference guide for future troubleshooting.
Avoid Overheating for Better Performance and Safety
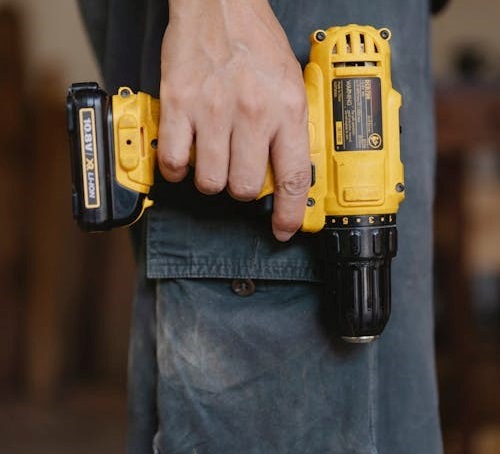
Excessive heat isn’t merely an annoyance; it’s a signal of potential damage or misuse. Simple habits and advanced precautions can keep your gear running at safe temperatures.
Practical Heat Management
- Adjust Technique: Forcing a tool to cut too quickly increases strain on internal components (source). Let the machine work at its designed speed for longer-lasting performance.
- Improve Cooling Systems: Tools with fans or ventilation systems require periodic maintenance to ensure airflow isn’t obstructed. If your equipment lacks cooling features, consider newer models with built-in thermal protection.
- Take Breaks: When handling demanding tasks, give the equipment brief rests to dissipate heat. This is particularly important for smaller models used for heavy applications.
Takeaway: Overheating results from overexertion—allowing tools time to cool prevents deeper problems.
Address Noisy Equipment for Smoother Operation

Unusual sounds shouldn’t be ignored as minor distractions—they are often early warnings of underlying mechanical issues. Identifying the type and source of the noise ensures effective repairs.
Troubleshooting Sounds
- Grinding or Rattling: Worn-out bearings or loose components often cause these noises. Replace damaged parts and re-tighten screws to stabilize internal mechanisms.
- High-Pitched Squealing: Dry or failing belts require immediate attention. Replace old belts and clean pulleys to maintain grip and reduce wear.
- Persistent Vibrations: Excessive movement indicates deeper alignment problems, particularly in tools with rotating parts. Check for bent shafts or worn bushings.
Expert Insight: Keeping spare parts like bearings and belts on hand ensures you’re always prepared for unexpected maintenance.
Maximize Battery Life for Cordless Tools

Cordless devices provide flexibility, but battery management plays a crucial role in keeping them reliable. A few adjustments can dramatically extend battery life and efficiency.
Practical Maintenance Tips
- Avoid Overcharging: Leaving batteries plugged in for too long risks overheating and shortens lifespan (source). Use chargers with automatic shutoff to avoid damage.
- Climate-Controlled Storage: Extreme temperatures degrade battery cells. Keep them in a cool, dry area and avoid exposure to direct sunlight or freezing environments.
- Regular Cycling: Periodically drain batteries to 20–30% and recharge fully. This recalibrates lithium-ion cells, maintaining optimal charge capacity over time.
Tip: Label multiple batteries with rotation schedules to ensure even usage across your set.
Prevent Sudden Power Drops in Corded Tools

When corded tools lose power mid-use, it’s more than inconvenient—it disrupts workflow and could lead to hazardous situations.
Steps to Ensure Consistent Performance
- Inspect Cables Closely: Replace any with visible damage, such as frays or exposed wires. For minor nicks, heat-shrink tubing provides a quick and effective patch.
- Reinforce Connections: Secure plugs to avoid looseness in outlets. Consider using locking plugs for high-torque tools.
- Upgrade Your Electrical Setup: In older buildings or temporary worksites, voltage fluctuations are common. Use surge protectors or voltage stabilizers to protect your equipment.
Expert Advice: Electrical safety is paramount—always unplug tools before inspecting or repairing cords.
Protect Tools from Dust Damage

Dust isn’t just messy—it can silently compromise performance and reduce lifespan. Proactively managing dust exposure ensures your tools remain efficient and durable.
Dust Management Techniques
- Integrated Dust Collection: Many saws, drills, and sanders now include attachments that connect to shop vacs or dust collectors. Use them consistently to minimize airborne particles.
- Routine Deep Cleaning: Open casings and clear out hard-to-reach areas at least every three months. Compressed air works well for this, but a small brush can handle delicate parts.
- Store Smartly: Keep unused equipment in sealed cases or protective covers. If working in particularly dusty environments, add additional shielding, like plastic wraps or zippered tool bags.
Tip: Investing in a shop vacuum with HEPA filtration keeps your workspace cleaner and your tools safer.
Decide When to Repair or Replace Tools
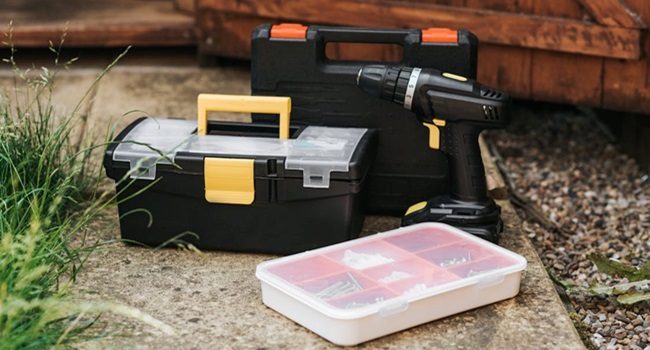
Some problems aren’t worth fixing, especially when tools become unreliable or outdated. Recognizing when to upgrade avoids wasted time and money.
Smart Replacement Tips
- Weigh Costs Against Benefits: If repairs are more expensive than half the cost of a new model, it’s usually better to invest in a replacement.
- Consider Job Requirements: Modern tools often include improved safety and convenience features, such as reduced vibration or smarter battery management. Weigh these benefits against sticking with an older model.
- Dispose Responsibly: Old tools can be recycled at specialized centers, which is more eco-friendly than tossing them in the trash.
Pro Insight: Treat new purchases as investments. Look for tools with extended warranties or customer support options.
By focusing on the specifics of diagnosing, maintaining, and optimizing tools, this guide empowers you to handle any issue with confidence. Whether solving power inconsistencies or preventing wear, these tips ensure you’ll keep your equipment running smoothly.


